I still remember the day so clearly that I went to buy my first snowboard boots. I was in awe of all the different kinds of boots, not to mention the various tying systems.
Naturally, I gravitated toward the traditional lace-up. I mean, I’ve been tying my own laces on sneakers and normal winter boots since first grade or around there.
But I’ve learned since then that the other tie methods for snowboard boots have their merits, and learning how to tie those boots isn’t rocket science.
So if you’ve wondered how to tie snowboard boots, we’ve got you covered here.
How to Tie Snowboard Boots
For those with traditional laces, tie them by starting from the bottom and tightening the laces, and making a double knot at the top. For the BOA lacing system, turn the dial clockwise to tighten the laces and press it to lock. For speed lacing, pull the laces until the desired fit, and stop pulling to lock the laces in place.
How to Tie Snowboard Boots
Here’s how to tie your snowboard boots depending on how they lace.
There is also a hybrid boot lacing system that’s less common, but how this ties depends on the combination of lacing methods that are used.
Method 1: Traditional Laces
To tie the traditional laces on your snowboard boots (hint: it’s just like tying a sneaker or other boot), follow these steps:
- Starting at the bottom (toward your toes), pull the laces to tighten them.
- Keep going, tightening until it is snug and comfortable.
- When you reach the upper part of your snowboard boot, the laces may need to be hooked over the hooks. Hook them and pull to tighten as you go.
- Tie the laces in a knot as you do with your sneakers. Pro tip: do a double knot so the laces don’t loosen easily.
Method 2: Speed Lacing (Quick-Pull)
Like a corset, speed lacing uses a single pull system, and like the BOA system, your boots are pre-laced all the way to the top.
Laces are already attached to the handles and connected to the locking tab; however, for other quick-pull boots, like Salomon’s, you need to insert the laces into the tab because you need to hook the upper zone laces through hooks.
For those boots where the laces are in the tabs, follow these steps to tie your snowboard boots:
- Simply pull the laces until they are tight enough.
- Once you stop pulling, the laces and tightness lock in place.
- Roll up the extra lace and tuck it with the handle into your boot. With some boots, there is an insert into which you place the handle that’s located at the end of your laces. Some boots also have a built-in pocket for the extra laces.
- To undo or loosen the laces, disengage the locking system by pulling the laces at an angle (instead of straight up, which will lock them in place).
Method 3: The BOA System
Your BOA boots may have one, two, or three dials that you need to turn. If your boot has one dial, then there is one set of laces that tightens the whole boot.
If it is a dual BOA system, the first dial will be located at the top of the tongue, so this one tightens the top part of the laces or the upper zone.
The second dial will be near the ankle to tighten the lower zone, so your ankle to heel for a better heel-hold.
For a triple BOA, there will be three knobs but greater adjustability means more expensive snowboard boots.
To tie your snowboard boots that uses the single BOA system, follow these steps:
- Push in the dial to engage it.
- Turn the dial to tighten the laces on the boot in small increments.
- Once your boot fits snugly, stop turning the dial.
- If you happen to tighten your boots too tightly, simply pull up the knob for a quick release, and then slowly tighten your laces until the desired tightness and fit is reached.
- Once your boot feels comfortable and you’ve tightened your BOA laces enough, then push in the dial to lock the laces and tightness in place.
- Simply tuck the extra laces into your boot or place them in the built-in pocket some boots have for the extra lace bits.
Lastly, Ensure a Good Fit
For your snowboard boots to fit well:
- Ensure there is minimal heel-lift. Your foot shouldn’t shimmy from side to side or up and down. Test this by flexing your knees. If your heels lift, then the laces aren’t tight enough and this could lead to foot or ankle pain as you snowboard and move around.
- You shouldn’t feel any pressure on any part of your feet.
- When you stand up, your toes should just touch the inner liner. If you can wiggle your toes or curl them, then your boots aren’t fitting as snugly as they should be.
Different Types of Snowboard Boot Ties
There are three main kinds of snowboard boot ties, and each has its pros and cons:
Traditional Laces
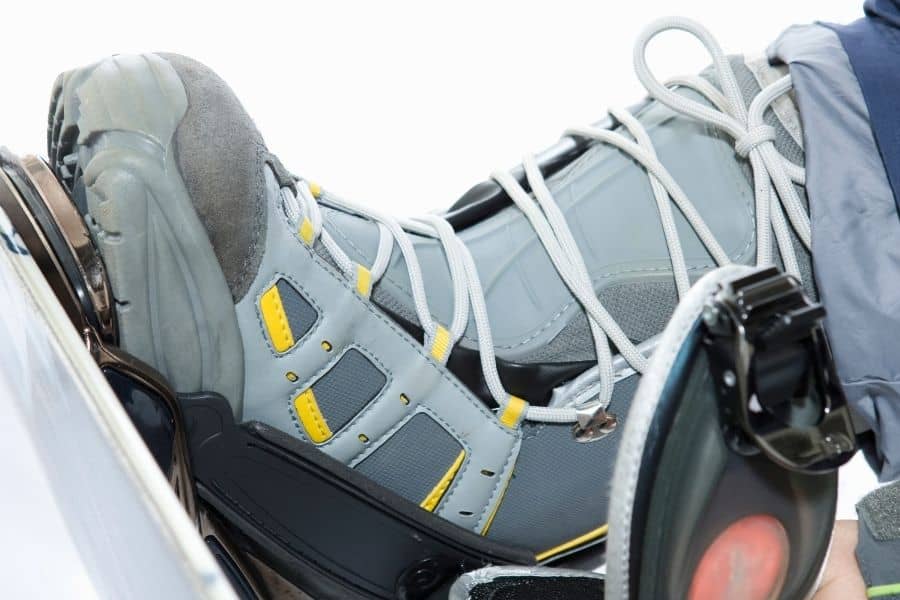
These work like normal laces for work boots and sneakers. Pros include that these can be fully adjustable and are also easily replaced.
A big con is that getting the right fit is time-consuming.
Best for: snowboarders that prefer a precise lacing system for the right fit.
Speed Laces
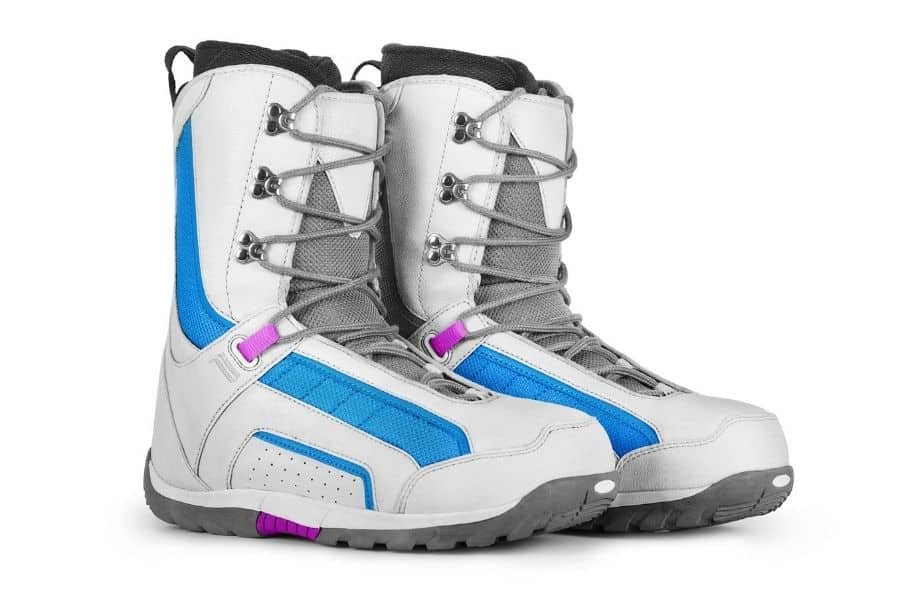
Also called quick-pull, simply pull the handles to adjust the laces. Pros include the adjustability of two zones and easily tightening and loosening of the laces.
The biggest con is tucking extra laces into boots (and hoping they don’t hang out and trip you).
Best for: snowboarders who want quick adjustability.
BOA Laces
These laces work with a knob to adjust the laces. Pros are that you have an easy-to-release tension knob, and you can adjust single, dual, or triple zones.
The biggest con is that if the cable breaks, fixing it isn’t easy (or cheap).
Best for: snowboarders that prefer multi-zone adjustability; however, this is costly.
Frequently Asked Questions about How to Tie Snowboard Boots
How do I keep my snowboard boots tight?
To keep your snowboard boots tight, tighten the inners first, then move around a bit before knitting up. As you move around, the lower part will loosen a bit, redistributing the laces. Then, tighten the inners means you can tighten them to a comfortable fit without cutting off the foot’s circulation.
Why are there hooks on snowboard boots?
The hooks allow you to speedily lace your boots instead of trying to put the laces through the metal eyelets. The speed component comes in because you simply wrap your laces around each hook.
The Final Tie
Tying your snowboard boots is an important step. Snug and comfortable boots mean that you shouldn’t get blisters on your feet from pressure points and foot or ankle pain from heel-lifting.
Happy tying!
