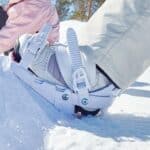
Once you have selected the right snowboard bindings to suit your riding style, the next step is to install them.
OK, so just because you are an expert at runs and parks, doesn’t necessarily mean that you are a skilled handyman.
And yes, it does take a few basic screwdriver skills to mount your bindings onto your snowboard, but it isn’t a complicated task.
While you should strive for a stance that is approximately the same width as your shoulders, the specific placement of your bindings is purely a matter of personal preference.
However, when it comes to installing snowboard bindings, there are some standard methods that you should follow to get the job done correctly.

How to Put Bindings on a Snowboard
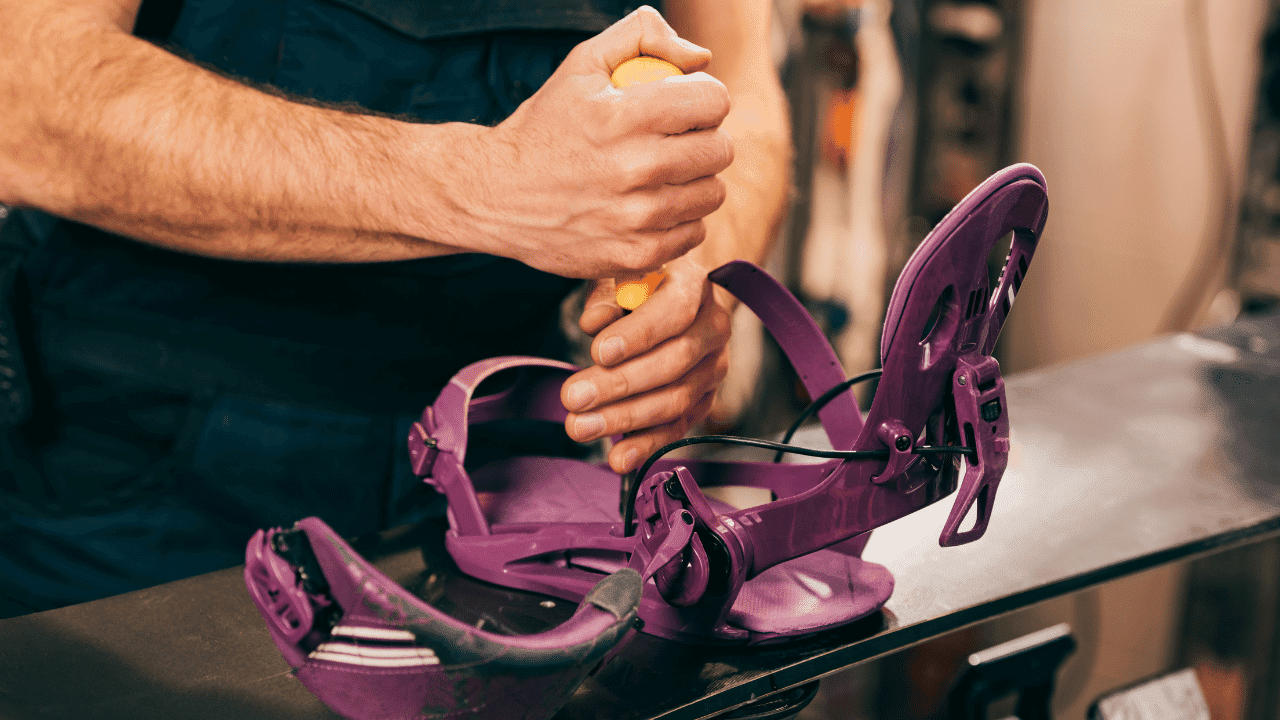
To put bindings on a snowboard, you will need a Phillips screwdriver, the instructions, and a hardware packet that comes with your bindings as well as measuring tape. Then you will need to decide on the stance width that you are most comfortable with. Next, you will need to insert your disks into the bindings and rotate them. Finally, you will need to secure the screws and washers and tighten the hardware using the Phillips screwdriver.
Gathering the Basic Materials
This is the first step to completing any project, even though it may sound like a no-brainer.
The last thing that you would want is to have your screws and disks in place, only to abandon your project while you rummage through drawers looking for a Phillips screwdriver!
Of course, you are going to need to choose the right pair of bindings and purchase them prior to even thinking about the installation.
Fortunately, the hardware packet and instructions should come with the bindings.
This includes the disks, washers, and screws. All you will need is a screwdriver and measuring tape.
Determining Your Ideal Stance
The best stance to hold on a snowboard is shoulder width or slightly wider.
You should angle about fifteen degrees on the front binding, but only zero degrees on the back one.
However, this is just a standard recommendation. You can try out different stances and decide which one feels most comfortable for you.
Alternatively, your snowboard may come with reference points that you can use to determine the appropriate stance for that particular board.
Many boards provide these reference points as a suggested placement for your bindings.
Just remember that you are the one who will be riding the snowboard, so make sure that the stance will feel comfortable.
Inserting and Rotating the Disks
Next, you will need to retrieve the disks from the hardware packet, place the disks into the bindings, and start dialing your ideal angles.
You’ll want to continue rotating the disks until the reference arrow starts to align with your preferred degree reference on the disks.
It’s strongly suggested to mount your front binding at a fifteen degree angle, which will make it easier for you to effectively initiate turns, while the back binding should be mounted at zero degrees or as low as negative six degrees if you are aiming for a duck stance.
Once again, these are just suggestions. The best mounting angles are a matter of comfort and personal preferences.
Securing the Screws and Washers
After you have inserted the disk, the next step is to place the initial sets of washers and screws into the bindings.
You can hold your bindings in place by inserting one screw and washer at opposite ends of the mounting disks and slightly tightening them to keep your bindings secured while you insert the remaining washers and screws.
Finally, you will finish securing your bindings to your snowboard by tightening the washers and screws by hand using the Phillips screwdriver.
Of course, you could alternatively use a power drill, but you would risk damaging your board if the drill happened to tighten the screws a little too much.
Once you have finished installing your bindings, you can always make adjustments when necessary.
For instance, you may eventually decide to try out different stances or become uncomfortable with your original stance.
This is perfectly okay.
All snowboarders evolve as they continue to hit the slopes, and now that you know how to install your bindings, you can go ahead and adjust them whenever the need arises.
Frequently Asked Questions About How to Put Bindings on a Snowboard
Do you need washers for snowboard bindings?
Your snowboard bindings should come with a hardware kit that contains disks, washers, and screws. If you purchased your bindings second-hand, it is strongly suggested that you purchase washers or a new set of screws that come with washers to properly install your bindings.
Do I need to adjust snowboard bindings?
Not necessarily, but if you eventually decide to alter your stance, it is relatively simple to adjust your bindings. All you will need to do is consider the angling of the snowboard and the ideal positioning of your bindings based on your desired stance, and then adjust the bindings accordingly.
Conclusion
Whew! You may have been relieved to learn that installing snowboard bindings is a fairly simple process.
All it takes is your bindings, hardware kit, a screwdriver, and measuring tape (if you want to measure your stance).
The main trick to putting bindings on a snowboard is choosing the best angles and stance.
Once you have that part figured out, just screw on the hardware and head out to enjoy a day snowboarding on the slopes.