Making a skateboard can seem daunting when you’re just starting out. I bet you think there’s no way you’ll be able to assemble a skateboard.
If you can tie your shoelaces on your own, read a book about skateboarding (or this article), and don’t dribble when you eat, I bet you, you can!
With the right tools and clear instructions (such as the ones below), assembling your own skateboard is easy to do yourself. Also, it takes less time, and costs way less than store-bought ones.
So, in this article, I will show you how to make your own skateboard… and now let’s get ready to rumble!
How to Put Together a Skateboard
Purchase 2 trucks, 4 spacers, 8 bearings, 4 wheels, 8 bolts, and skateboard grip tape. Use a Phillips screwdriver and an all-purpose skate tool (recommended) to assemble the parts into a skateboard. When you’ve assembled your new skateboard, paint it to fit your personality and unique style.
Gear You’ll Need for Building your Skateboard
It’s essential to get all the necessary gear before you begin assembling your skateboard.
Let’s see what you need and get to work on building that skateboard.
- 2 trucks
- 4 Spacers
- 8 Bearings
- 4 Wheels
- 8 bolts (for trucks)
- Skateboard grip tape
You can set out to buy each of these skateboard pieces individually, giving you a great way to estimate your budget.
Tools for Assembling the Separate Parts
- Screwdriver.
- 3/8″ wrench (standard). Also, other wrenches may be required for the parts you buy.
- Instead of an ad hoc number of wrenches, you can also use a skate tool.
(If you’re going to use a skate tool, ensure that it has a wrench with a 3/8″ adjustment. If you decide to get a skate tool, I strongly suggest you get an all-purpose one.) - Phillips Screwdriver.
Assembling the Skateboard
Now that you have all the pre-requisites, start constructing the skateboard.
Fix the Grip Tape to the Deck
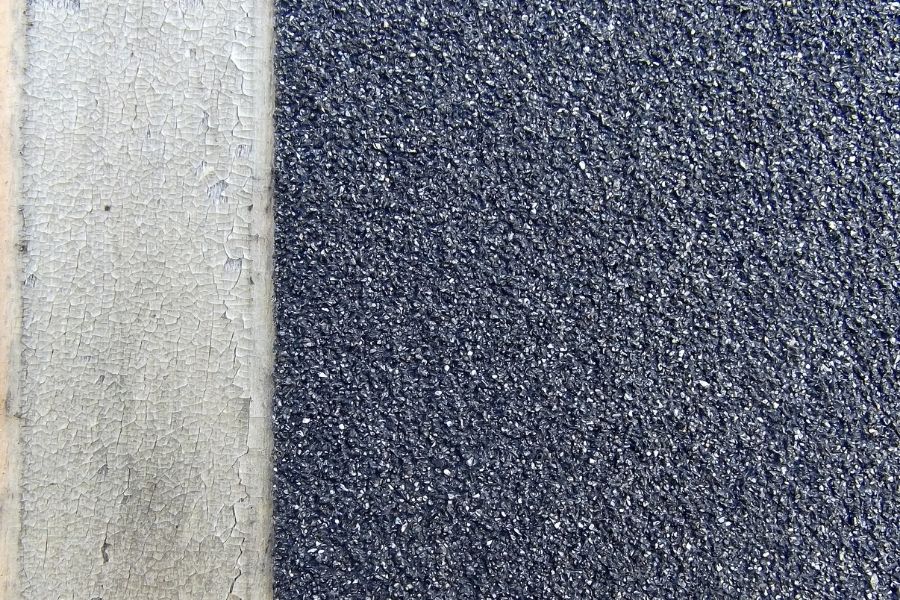
First, spread the grip tape down against the deck. Make sure the tape’s facing down on its smooth side.
One end should stick out by approximately one inch.
Take a piece of grip tape on each end and press your thumbs against them. Drape them around until they overlay in the center.
Next, press the grip tape down into the curve of the board with your fingers.
You can use wax paper to cushion the grip tape from any non-flat edges, tables, or work surfaces in your home.
Important: Make sure to take out the paper you have used, so it doesn’t stick and doesn’t leave any residue on your board after applying grip tape.
Remove all grip tape you don’t use and with some rubbing alcohol and cloth or a towel, clean the deck. Dry off your grip-taped deck thoroughly before you continue.
Fix the Trucks
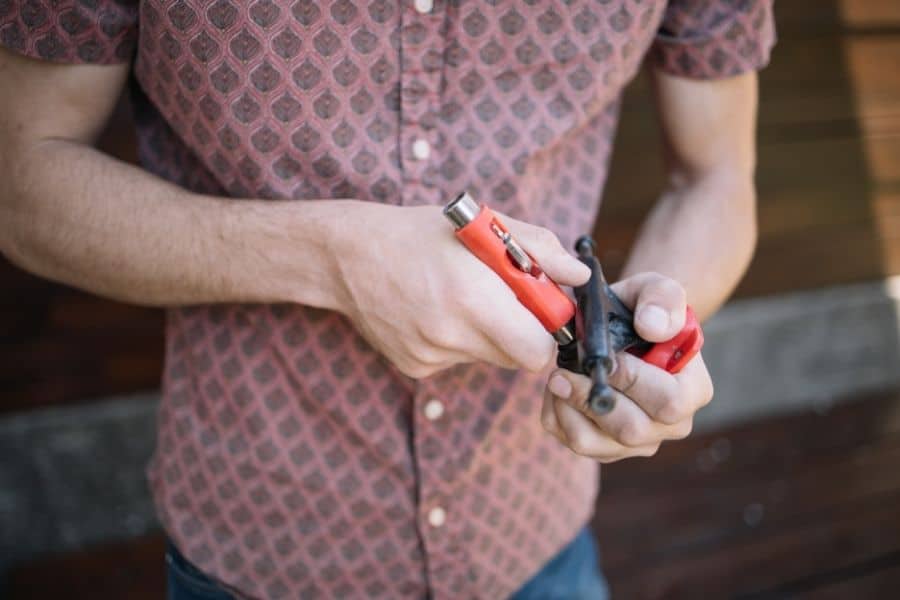
Fix the Skateboard Trucks
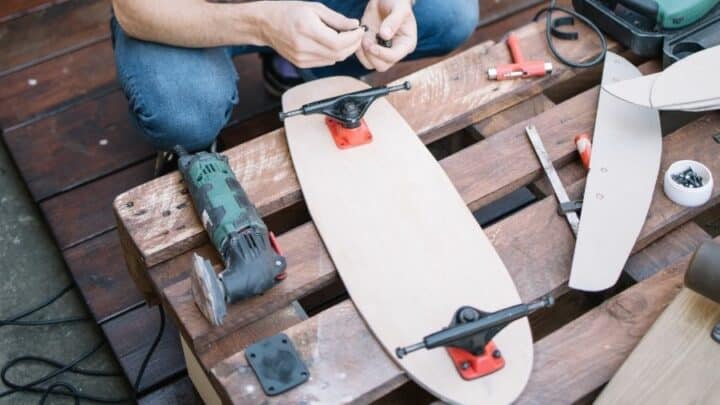
Install the bolts into the holes in the deck and riser. Install risers by first attaching them to the bolts.
Press the truck’s top onto the mounting holes.
If the skateboard trucks are properly mounted, you should hear a clicking sound, and there mustn’t be any wobbling. Attach the two skateboard trucks to the deck and secure the bolts.
Add Bearings to the Wheels
Adding wheel bearings’ the most challenging step in the assembly process. To start, take washers and nuts out of the wheels.
Place the skateboard bearings inside the wheels.
Normally, you will hear a pop when you press the wheel on a bearing, which shows that the bearing has been properly seated. To seal the bearings in the wheel hub, place a washer on each end.
Finally, flip the wheel upside down and repeat the process until both bearings are in the correct place. Continue the procedure until you’ve done all four wheels.
Fasten the Wheels to the Trucks

Fasten the Wheels to the Trucks
After putting the bearings on all four wheels, it is time to attach the wheels to your skateboard trucks. You will need to take the wingnuts off both ends of your skateboard.
Place a washer on one side of the board and then place it against its metal plate. Place the truck axle at one end into the wheel hub’s hole. It is the same position for the other end too.
Next, take the other axle from your truck and insert it into the hole in the wheel hub. This is where the other end of your truck axle will fit into.
At the axles’ ends, place a washer. Next, tighten your wingnuts so that they are tight against the metal plate.
Important: Tighten the wingnuts just enough to prevent the wheel from coming loose, but not so tight that it causes damage.
To ensure that your bearings are properly seated, slide them in and out of the metal plates.
If you notice any broken parts or if one bearing isn’t moving smoothly, I’m afraid you’ll have to get in touch with a skateboard repair outfit or start over on that wheel.
Fix the Trucks to the Deck
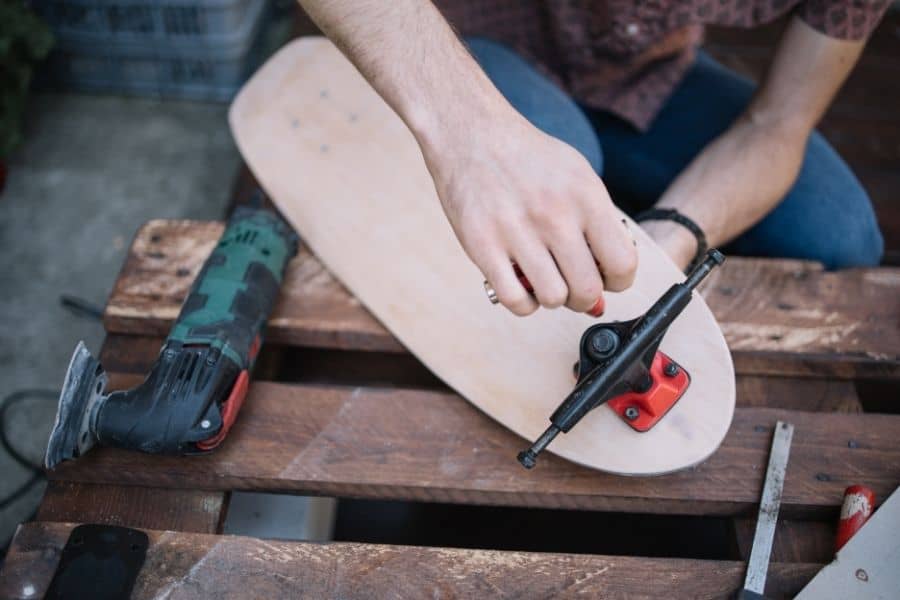
Fix the Trucks to the Deck
Attach the trucks to your deck. First, place one truck axle into the hole in the skateboard’s plate.
The boards’ opposite side opening will hold the other end. To secure the axle ends against this metal plate, tighten your wingnuts.
Once the truck is securely attached to the deck, turn each wheel until it turns smoothly. If any wheels are hard to turn, tighten the nuts, so they move smoothly.
If all has gone according to plan, congratulations! You have just built yourself a new skateboard from scratch.
Frequently Asked Questions about How to Put Together a Skateboard
How long will my assembled skateboard last?
For some, boards will last a month. In the hands of others, boards will last a year. Bearings can get wet and rust. Wheels can flat spot or cone. The thing is, if you know how to assemble a skateboard, you’ll know how to replace parts.
Will I be able to return parts if I don’t like them?
I can’t say definitively, but if they’ve touched the ground in any way, shape, or form, then the answer is a straightforward “No!” In general, once you’ve unpacked and used a part in an assembly, that’s it, so be very careful from whom you buy your skateboard products.
Afterword: How to Put Together a Skateboard
So you’ve got your spanking new skateboard. You’ve tightened the wheels, adjusted the trucks, painted a radical design on the board, it’s time to let it loose on the world.
Bear in mind that not every skateboarder is a master skateboard maker, so don’t beat yourself up about it if it isn’t perfect.
If you’ve followed my instructions to the letter, I assure you that although your board might be a little eccentric, it will still skate well.
Have fun, and good luck.
