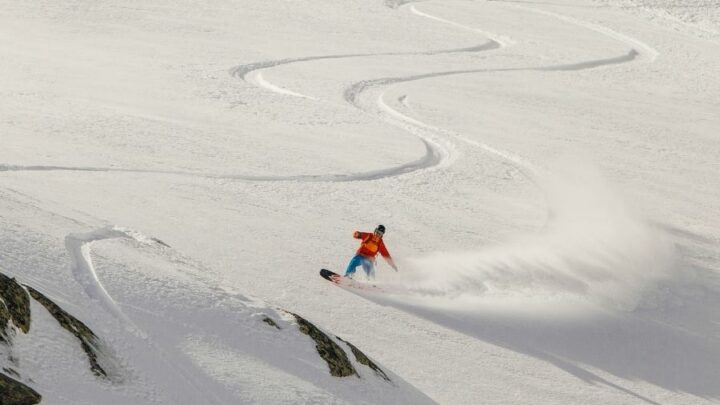
Snowboarding looks so awesome, doesn’t it? The snowboarders just seem to easily glide across the snow-covered hill, making their way down with such elegance and grace.
That doesn’t describe my first (or fifth!) experience on the slopes, and I discovered that I had a lot — and I mean A LOT! — to learn. Thank goodness I went for lessons.
Once I mastered how to stop my snowboard, I could focus on how to turn without worrying that my snowboard would slide away from me, or I’d meet the snow in person.
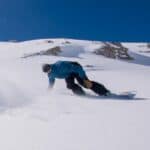
While I like forming snow angels as much as anyone, that’s not my idea of fun while on a snowboarding vacation.

How to Turn on a Snowboard
Both heelside and toeside turns start with the head, followed by your shoulders, hips, and knees. Point your knees toward the snowboard’s nose, placing more pressure on the front foot’s heel for a heelside turn. Point your knees toward the snowboard’s tail while adding more weight to the front foot’s toes for a toeside turn.
5 Steps to Turn on a Snowboard
When I learned to turn on my snowboard, I was told to focus on my head, shoulders, hips, knees, and feet.
This order is also important as the first step to turning on a snowboard starts with your head.
Step 1: Head — Look in Your Turn Direction
When I want to start turning on my snowboard, I keep my head up and I look in the direction of my turn. Then I spot when I want to go next and plan my next turn.
Pro Tips:
- First, turn your head in the direction you want to go before the rest of your body and your snowboard follows.
- Don’t look at your feet!
Step 2: Shoulders — Follow Your Head
The direction in which I point my head is the direction my shoulders should follow. These body parts are my steering wheel.
However, my lower body has a bigger impact on my turn than my upper body, but I board better if these are aligned.
Pro Tip:
- The direction and how fast you turn your shoulders affect your speed.
Step 3: Hips — Follow Like the Rest of the Mexican Wave
Next, my hips follow my shoulders and my head, further pointing in the direction I want to turn.
And I start feeling the board moving in the direction of my turn.
Step 4: Knees — Gives More Control
Using my knees when I turn helps me gain more control over how fast I go or turn and the direction I go in.
I always keep my knees soft to help with extension and flex, and this also helps in absorbing various snow conditions.
If I want to turn heelside, my knees turn inward and point toward the snowboard’s nose.
If I want to turn toeside, my knees turn toward the snowboard’s tail.
Pro Tip:
- Make sure to always flex your knees.
Step 5: Feet — Has the Most Impact
My feet are directly mounted on my snowboard, so it makes sense that they have the most impact on how I steer and turn.
For a heelside turn, I place more weight on the heel of the front foot when I initiate the turn. In turn completion, I add pressure to the heel of my back foot.
For a toeside turn, I exert pressure on the toes of my front foot when I enter the turn. When I finish the turn, I add weight to the toes of my back foot.
Pro Tip:
- Initiate or start the turn by adding pressure on the front foot.
- End or complete the turn by placing pressure on the back foot.
Phases of Turning on a Snowboard
Before I learned how to turn on my snowboard, I was given lessons on the three phases that’s involved.
Things move fast on a snowboard, so understanding the basics and focusing on these help so much.
The three snowboard turning phases are:
Phase 1: Initiation
With initiation, start your turn by looking in the direction of where you want to go. Let your body follow this direction naturally.
Depending on the type of snowboard turn, your lower body (so your legs, ankles, and feet) work together to move your snowboard.
Phase 2: Control
Control is where the snowboard’s nose points downhill. Hold on as you pass through the fall line of the slope, which is an imaginary straight line that goes downhill.
Keep your weight balanced, body still, and back upright. Bend your knees and place more weight on your front leg as you start the turn, switching to place more weight on your back leg as you finish the turn.
Phase 3: Finish
Ease on the extension or flex of your feet and legs as you finish the turn.
You may choose to start another turn by initiating the next turn or riding flat for a moment.
Types of Snowboard Turns
There are two main types of snowboard turns, and then you can learn how to link them for greater control.
Heelside Turns
Also called backside turns, these are easier because it is probably more appealing to fall on your butt than it is to face-plant.
To do a heelside turn, bend your knees while leaning back. Raise your toes and flex your ankles.
Dig your heel edge in as you lift the toe edge off your snowboard.
Toeside Turns
Also referred to as frontside turns, slightly straighten your legs and extend through your ankles.
Pull the heel edge up as you push your toe edge into the ground.
Frequently Asked Questions on How to Turn on a Snowboard
How should a beginner turn on a snowboard?
Beginners should learn how to stop before learning how to turn as this teaches you how to slow down and speed up on your toe and heel edges. Next, learn how to turn by starting with the garlands exercise, which is a half-turn that uses the same motions as when you need to stop on a snowboard.
How do you control a snowboard?
To control your snowboard, you need to learn how to speed up, slow down, stop, and turn. Knowing how to do all of these helps you control your snowboard as you make your way across, up, and down a hill. Use your head, shoulders, hips, knees, and ankles to help you control your snowboard.
The Final Turn
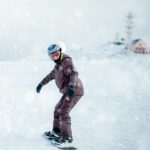
Once I’d gotten the hang of turning on my snowboard, and it took quite a few hours of practice, I loved turning and sliding down the small slopes. Every beginner needs to start somewhere, right?
I’m continuously practicing and hope to be ready for the much steeper slopes soon.
Happy snowboarding!